How to build your own growing racks
How to build your own growing racks
About one and a half ago, we decided to build our own prototype growing racks. At first, it seemed like a pure necessity: we needed our own smart farm to develop our own software. We had read an article about the MIT City Farm and quickly realized this was what we wanted to do, smart farming became our calling. So we planned and iteratively built different racks. In their version, they might still be labeled as version pre-alpha 0.0.3, but hey, while they might not look too pretty, they do work! Our goal is to further professionalize these racks so they can be used to produce leafy greens, herbs and vegetables for the LIVE AT STUTTGART restaurant.
In case you’re absolutely not interested in the backstory of our current setup, but just want to know how to build your own rack, feel free to skip the article and go directly to our forum post, where you’ll find construction plans and a list of components to get everything you need to build your first food rack:
http://forum.farmee.io/discussion/6/how-to-build-your-own-rack
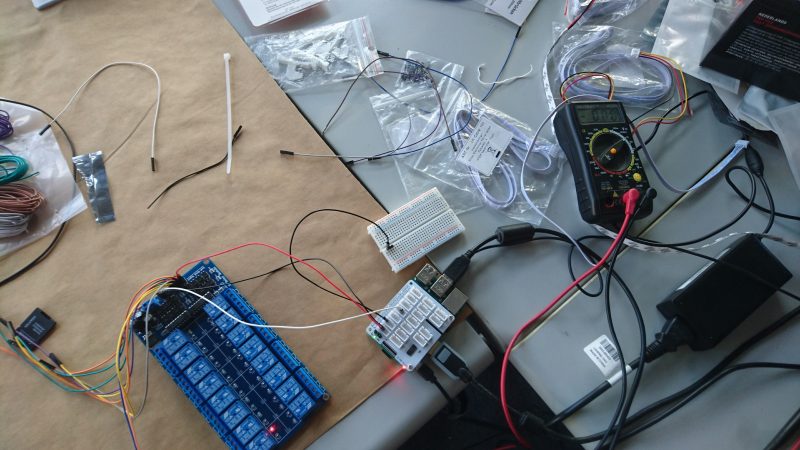
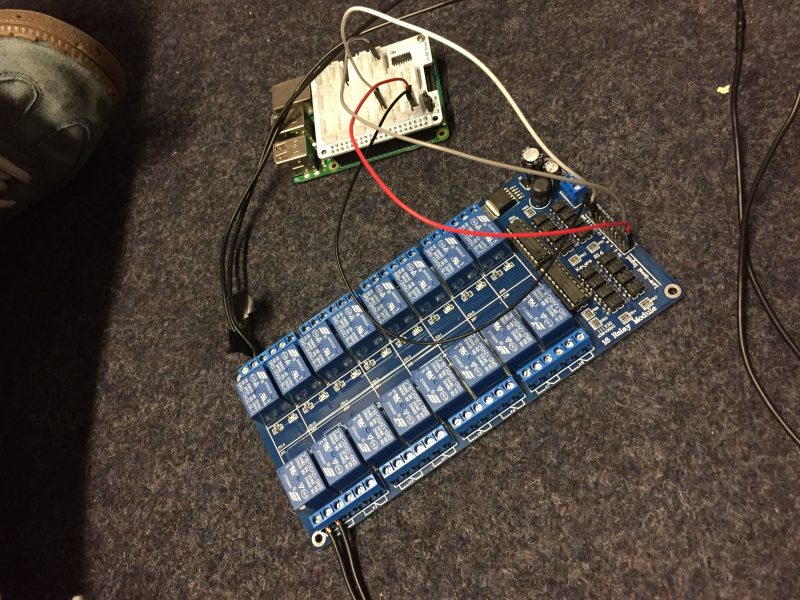
Additionally, we hooked up a raspberry pi with some sensors and created our first controller to monitor the environmental parameters and control irrigation and lighting. We will have a deeper look at the hardware side in one of the upcoming blog posts.
So what are the tasks of a grow rack?
- It should contain one or more layers, in which our little plants will grow
- The layers should hold our plants, so they won’t fall over (admittedly, we still don’t know what’s the best way to do that, but we’ll get to that later)
- The water needs to reach the plants and also has to get back to the water tank, so we need some pipes and tubes
- There will be a lot of sensors around, which have to be connected to our raspberry, so there will be a lot of cables
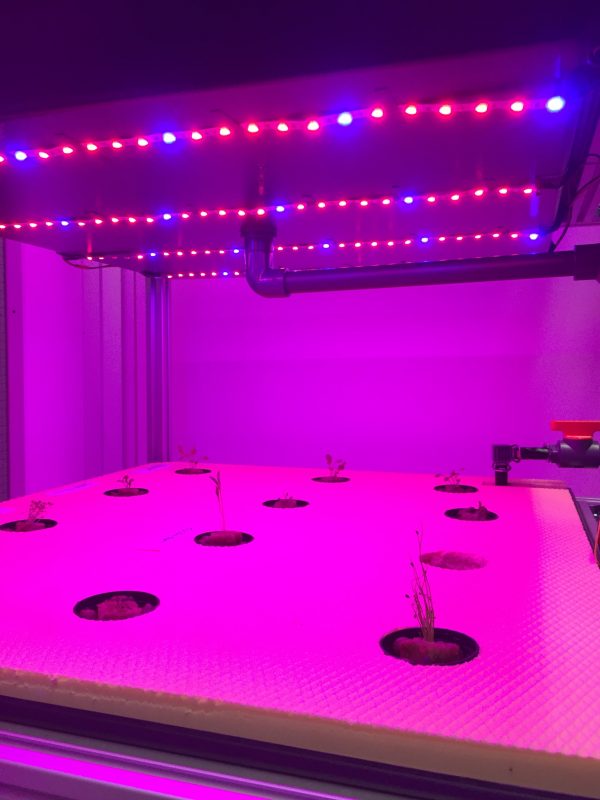
- We need to fix lights above each layer
And what’s our goal with the rack?
On the hardware side:
- We want to be able to grow different plants in different zones or layers
- We want to experiment with different watering and lighting systems
- We want to change the system as we go on with experiments (e.g. lights, height of layers, etc.)
And for our software:
- We want to check real-life conditions
- We want to develop an operating systems that is, above else, reliable. By growing real plants in our rack, we immediately see if something goes wrong
Version 0.0.0
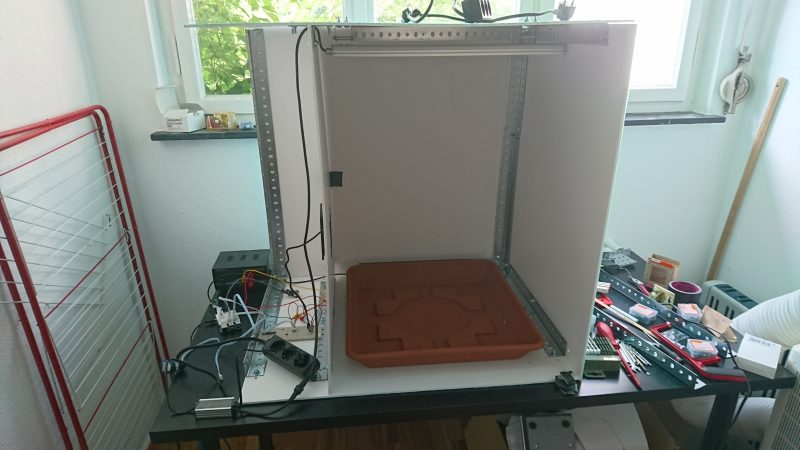
The very first version of something you could call a growing system that we experimented with was built from steel-profiles and PVC-sheets. The system was kind of a closed environment, so we could test our temperature, humidity and CO2 sensors and see real changes to the environment we were monitoring. Also we could test a first version of an irrigation system (basically a plastic box with a pump in it) and led lighting.
The major drawbacks of this construction were:
- It was too heavy (due to steel-profiles)
- The profiles had to be hand-cut with an angle grinder or a saw, so it took a lot of time
- It was not very flexible
We are software developers, so we give each version a number. So let’s call this version 0.0.0 and quickly move on to the next step of our iterative process.
Version 0.0.1
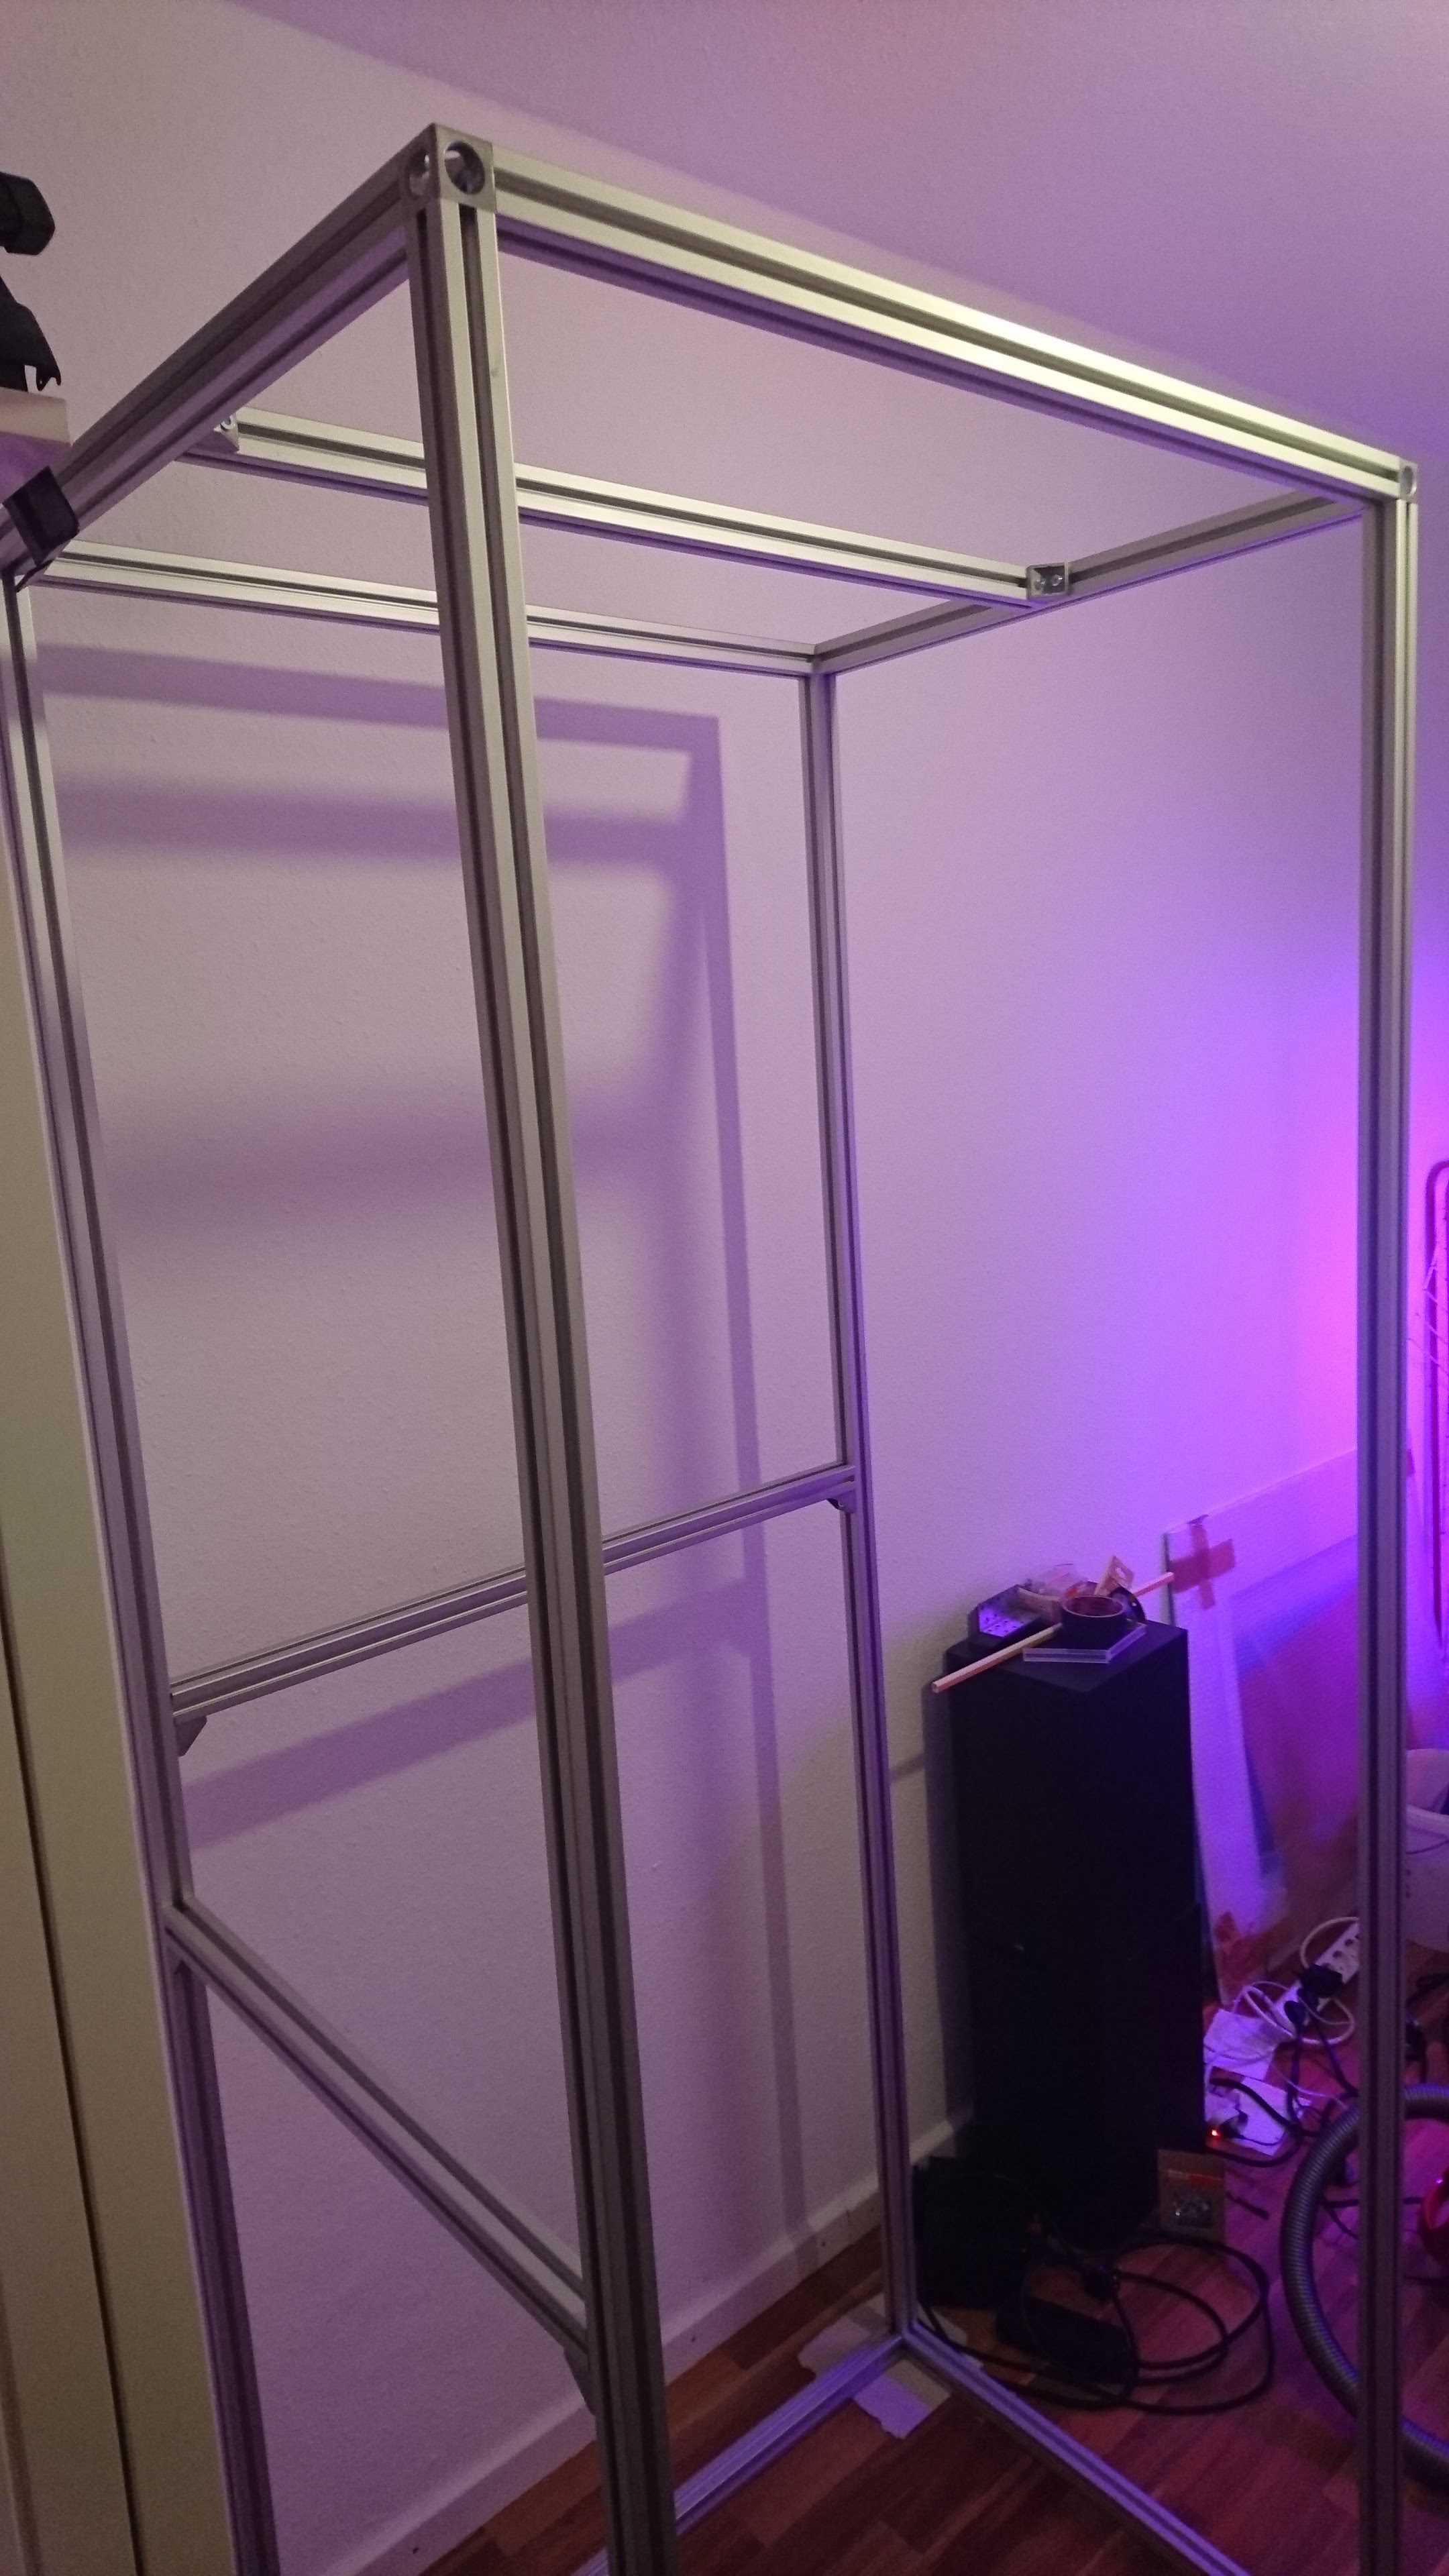
In the next version we used aluminum profiles instead of steel. We could easily order them in different lengths and there are lots of standard parts to tie the profiles to each other and to mount stuff onto the profiles. This made our system much more flexible (and it also looks cleaner).
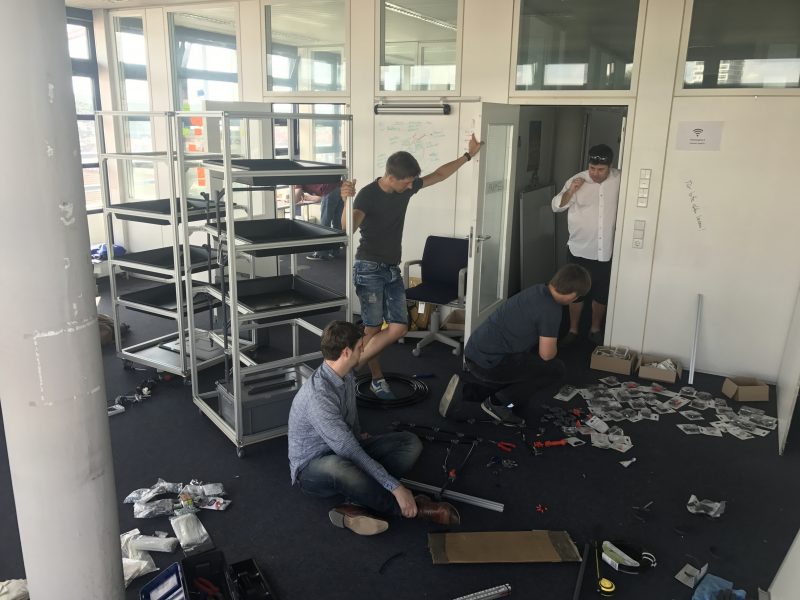
The build process was much more fun as well, a bit like playing with LEGO (big fans btw). So after we figured out how well the construction with the profiles worked, we did some sketches for a bigger version, to scale our system.
A word of caution: aluminum profiles are readily available, but they are not cheap, so careful planning pays off in the end.
Version 0.0.2
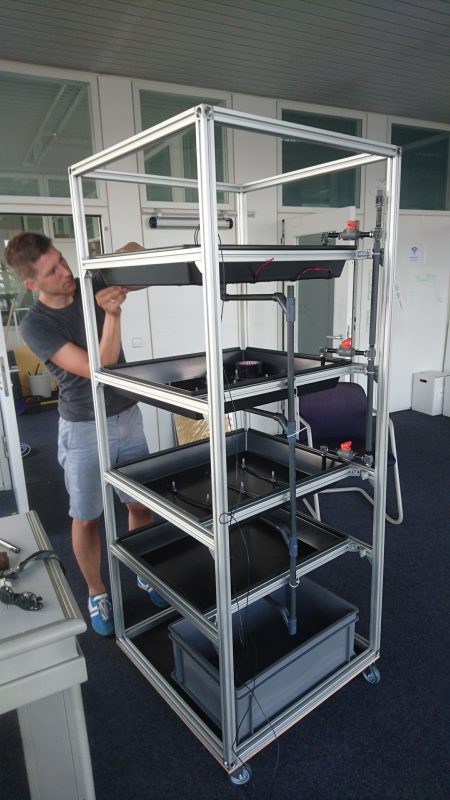
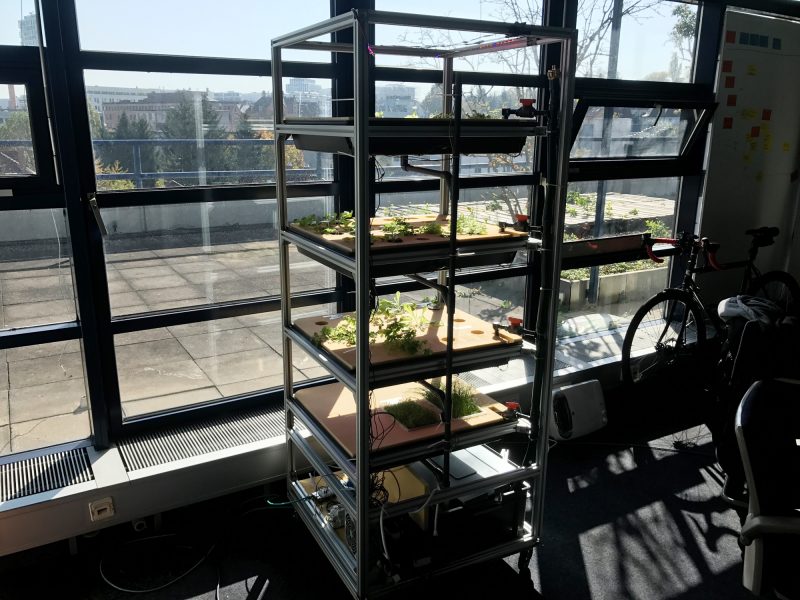
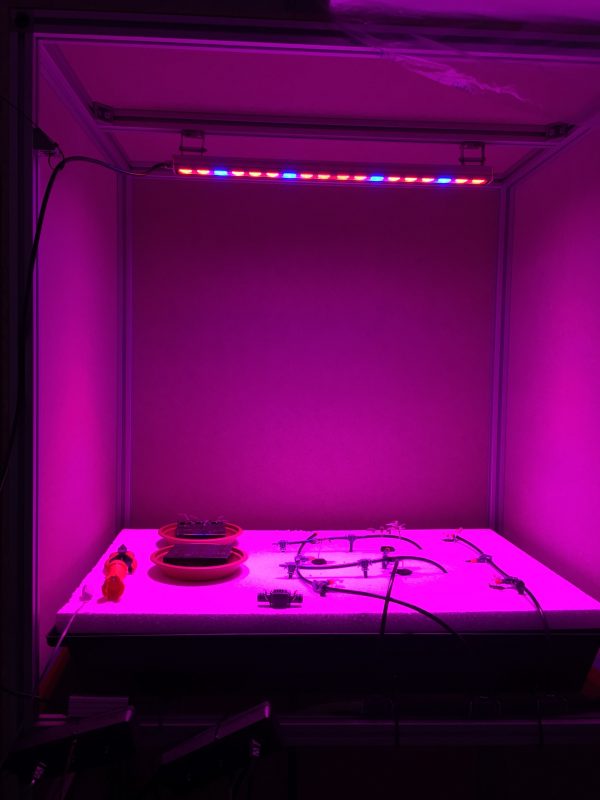
 In the next iteration we built a roughly 2m high version of the rack, working with the same profiles as in the small construction. They work like a charm, it’s super easy to change heights of layers or insert something. The 2m version was used only in a one-layer setup, so we added only one layer in the middle of the rack. In this layer we have a small pool with a drain, which is connected to PVC-pipes to get the water back into our water-and-nutrient-tank. The water tank contains a pump, the pump is connected to a tube that brings the water to the growing-layer. The plants are watered through a drip irrigation system or through mini-sprinklers. We refined the watering system in our current version, but this version was good enough to run for a few months.
All the sensors are connected to the raspberry pi with makeshift wires, the relays weren’t connected very nicely and all the wires were hanging around loosely. But it worked reliably over the course of a few months.
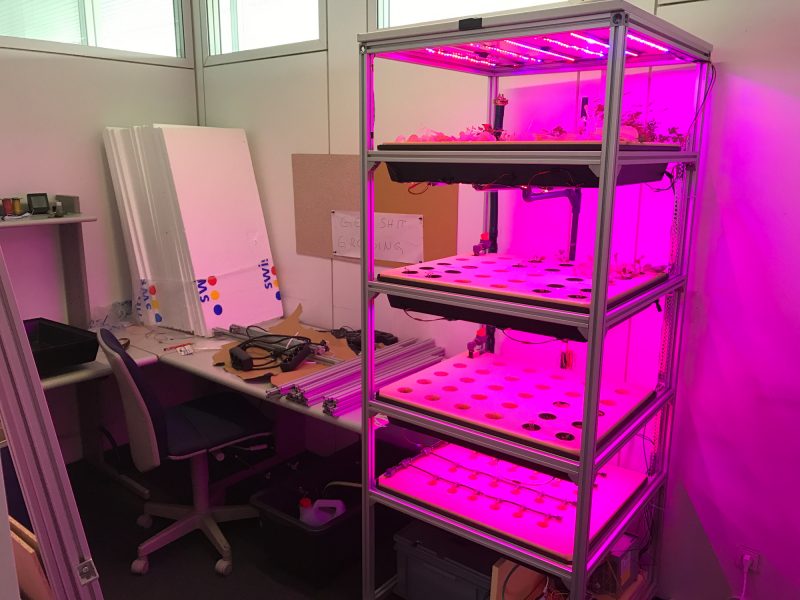
Version 0.0.3 (current stage):
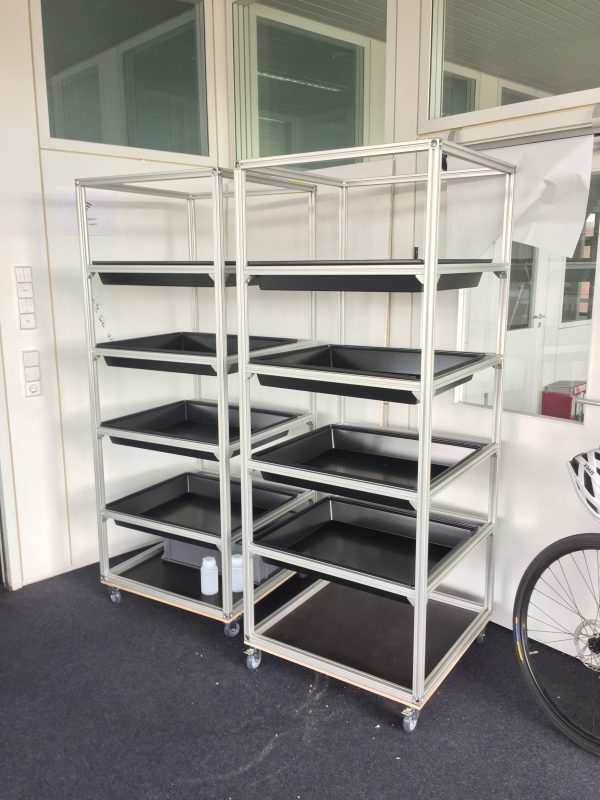
As the whole farmee idea grew bigger, we started to overthink our rack and did some sketches, trying to figure out what we could do better. There were some points we wanted to improve from the previous version:
- Clean structure for the irrigation cycle
- Clean structure for all electrical components
Also we wanted to create a reproducible layout to scale up when we are ready to produce on a bigger scale. But as we are still in early development stages, we needed to keep the system flexible. To summarize our results: we aren’t there, yet.
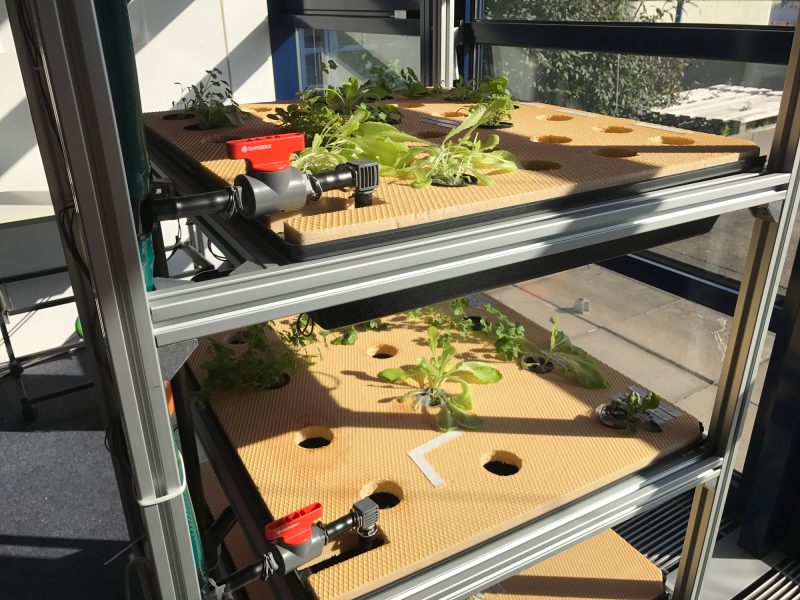
One of the bigger challenges is water pressure. With a water tank at the bottom, a height of 2 meters and 4 layers with sprinklers the water pressure just isn’t sufficient. Our quick fix was switching to a more powerful pump and using watering hoses with a bigger diameter for the vertical pipes. While the hack works right now, we would like to move the water tank to the top and let good old gravity do the work for us. This should be much more energy efficient. Additionally, we might use magnetic valves to water the layers independently.
Also, regarding flexibility, using PVC-pipes wasn’t the best choice. As you need to glue them together to be waterproof, changing the heights of the different layers causes a lot of work and new pipes, so we’d like to exchange them with hoses and reusable adapters.
As we already said, we aren’t at the end of the development of our food rack, but we got two working prototype racks with the same layout right now. We’re constantly improving the layout and will keep posting updates in the forum and in our blog. So stay tuned for that. If you plan to build your own rack, go ahead to this forum post and see our plans and a basic list of what you need.
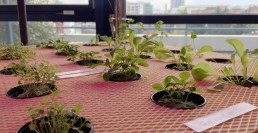
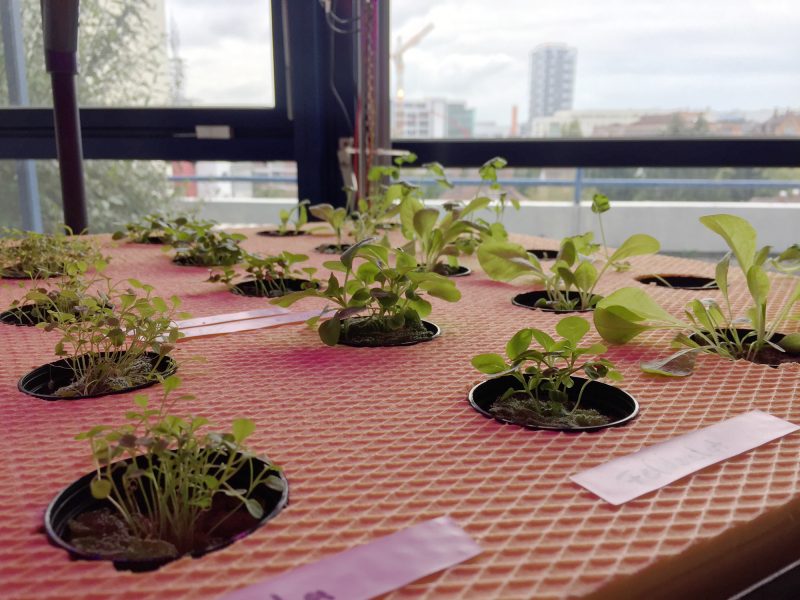
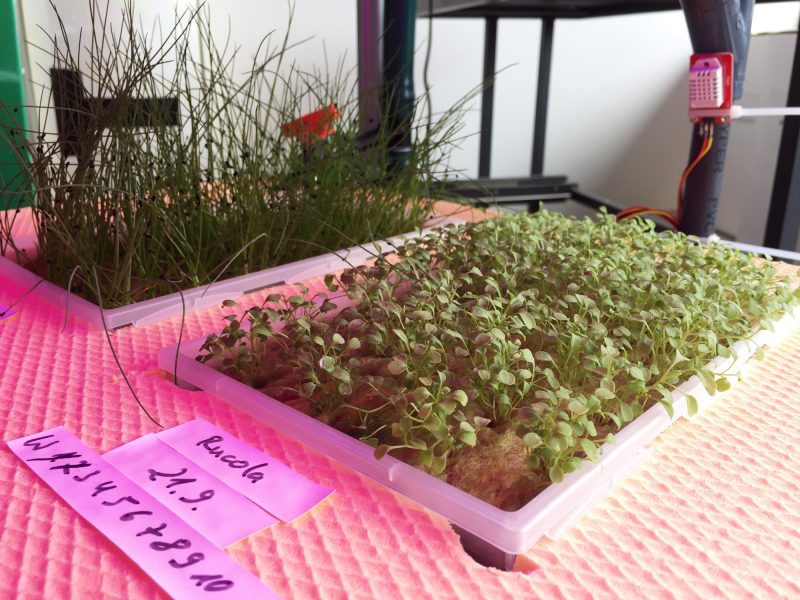
Some more random images taken during the process: